


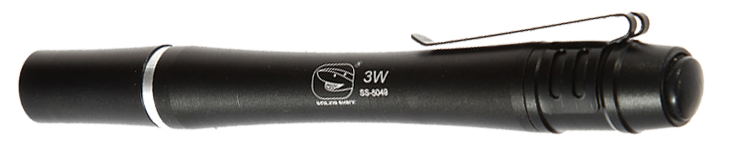
3W LED Pen Torch
Out of stock
Couldn't load pickup availability

There are often times when you need a more light when maintaining and calibrating your 3D Printer. This is especially true when you need to clean or calibrate a 3d printer nozzle. This little torch is just what you need to see what is going on.
Tips from the 3D Printing Experts-
CALIBRATING NOZZLE HEIGHT
It is essential to have the correct distance between the nozzle and bed of your 3d printer. If the first layer does not print correctly, you can not print! This is the area of 3d printing that most new comers struggle with. Sure you can grab a tool in one hand....try to balance your phone in the another...but when you need that second hand you can not get the light where you need it! This little LED torch lets you place the light exactly where you need it. Rest it on the print bed right where you need it!
If your filament is not sticking then provided you have the correct print temperatures, bed temperature, you have cleaned the bed/tape with acetone and you have primed the filament just before printing to ensure it has fresh filament in it- the only other reason it does not stick is that you have not calibrated you bed correctly.
If the bed is too close it will block the nozzle and filament will back up into the extruder head which can stop the filament from flowing. It can also cause back pressure on the filament. Molten filament builds up inside the hot end, and causes back pressure. When filament has to escape so eventually it blows out, resulting in an uneven layer of material. Then when it continues to lay the filament on the bed, each time the nozzle hits a raised blob, blows out again. So if you have patched of think and thin filament on your bed for the first layer, there is a god chance your bed is too close. Increase the distance and try again.
If the gap is too great the filament it will not stick. It needs to get sandwiched between the nozzle and the bed.
As a rule of thumb, the distance between the nozzle and the printing surface should be between 0.4 and 0.8mm for most 3d printers. This is equivalent of a sheet of paper or a thin business card. If you are printing at finer layers the gap becomes more critical, so it is always good to go some lower resolution 3d prints when you first start out so you can get a feel for it.
To measure the gap, place a business card (or paper) between the nozzle and the print bed. Adjust the height until you can feel resistance when you move move the card around. You should feel resistance, but it should not grab.
Remove the card and use your handy LED Pen Torch to view the gap between the nozzle and the print bed. If you are struggling the see the gap due to large of contrast, place a sheet of paper behind the nozzle so you can see the gap easier.
Now that you have a good idea of what the gap should look like you can move the nozzle close to each calibration screw on you print bed.
Move the nozzle to the extremes of the build platform and the center. Sight the gap and ensure the distance is consistent throughout the printing region.
Specifications-
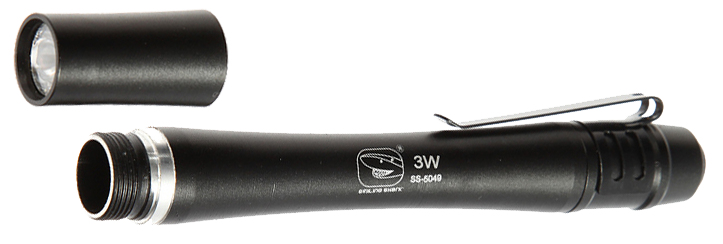
3W Mini single LED
Black analogized aluminum body with rear on off switch and shirt clip
Size: 125 x 13mm dia
Requires 2 x 1.5v AAA batteries (not included)


