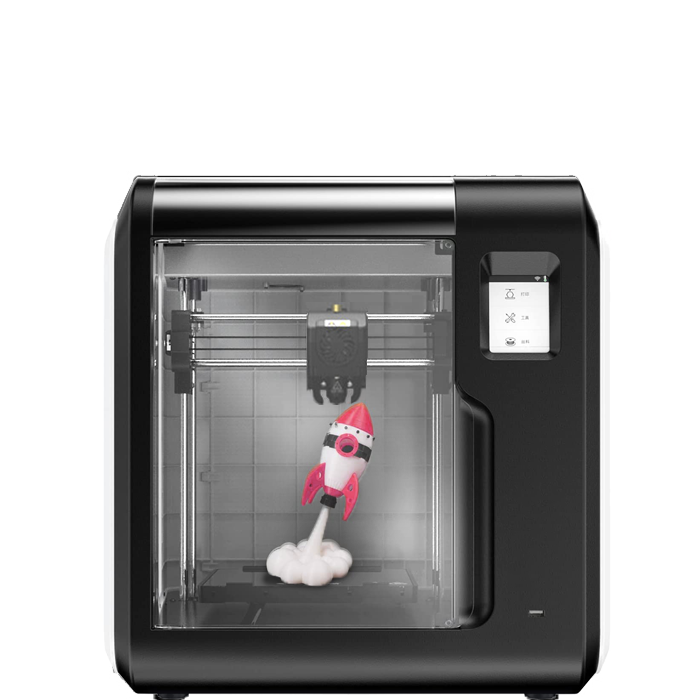
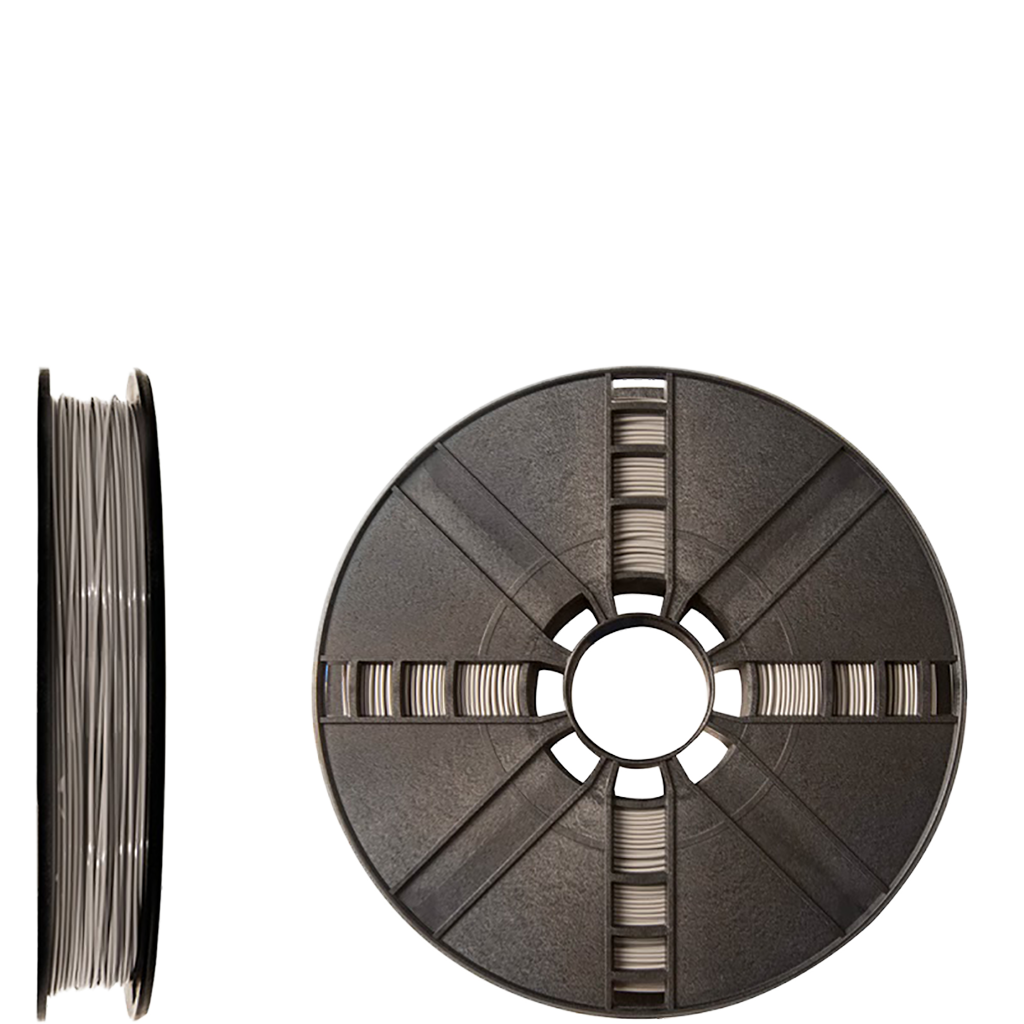
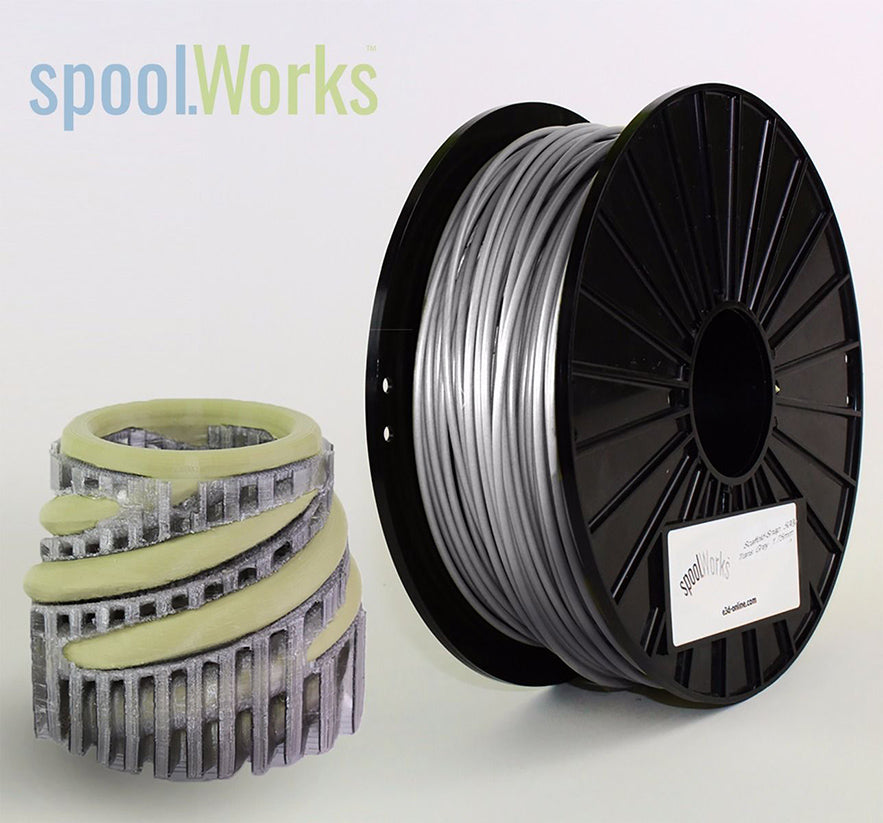
I just reached the end of the roll of PLA supplied with my Evolution printer, here's my review:
Overall: It works, but producing quality prints is a combination of luck, skill and appropriate sacrifices to the gods.
On Arrival:
A month after I ordered the 'in-stock' item, it finally arrives, not from the shop in Australia I thought I was buying it from, but from the manufacturer in India, who built it on-request, - a request that was dated ten days after I made my order.
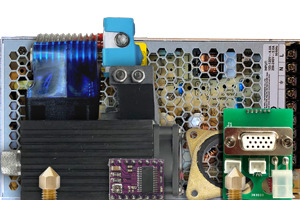
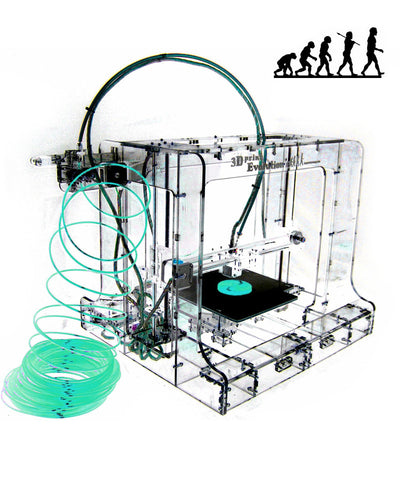
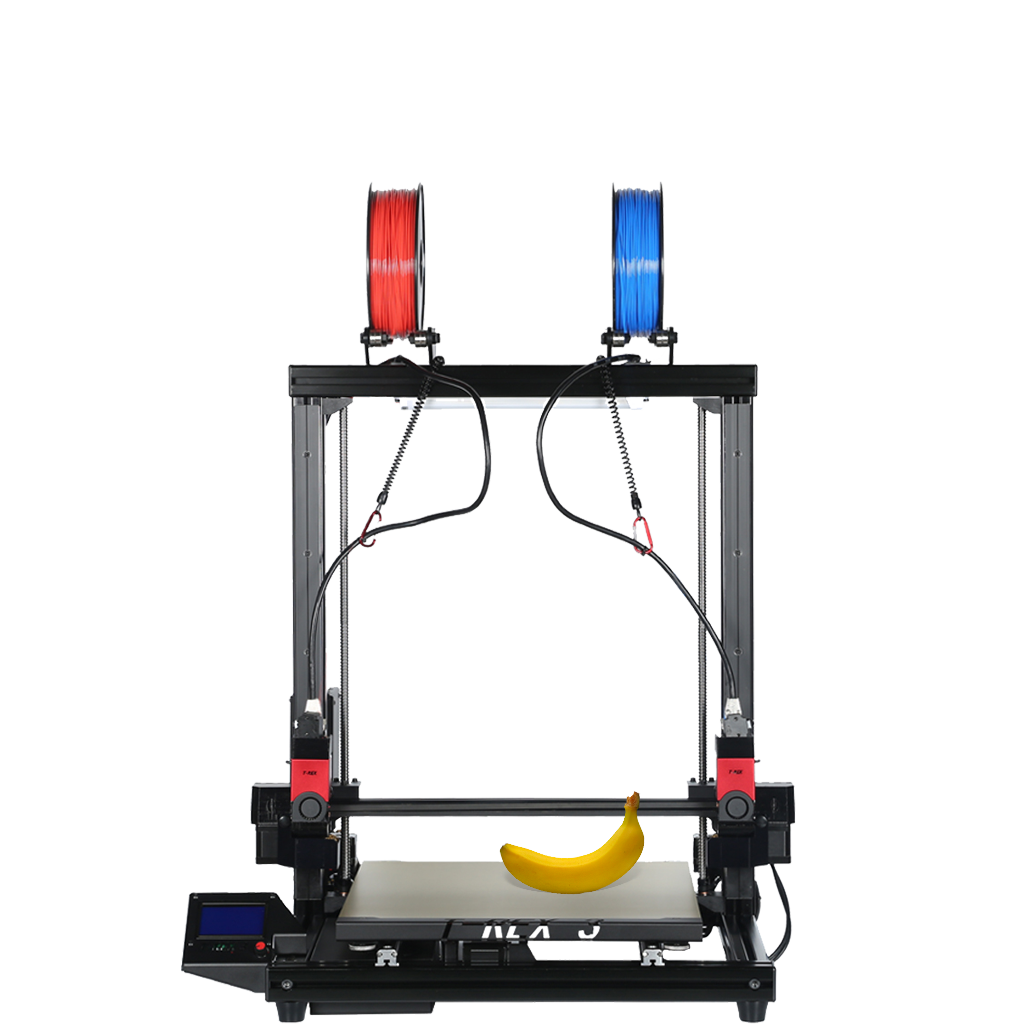
The printer appears to be a slightly customized rep-rapper kit that has been pre-assembled -its based on an arduino mcu prototyping board. This has the advantage that it can be fixed and modified, but don't expect anything like a commercial printer.
It took me over an hour to remove the packaging, and had to partially dis-assemble the printer to do so. This caused some issue as there are no assembly instructions and the manual that does come with it assumes that you assembled the thing yourself. I had to trawl the internet to find a picture of how the build plate was supposed to be attached.
Despite the ridiculous packaging it still arrived with several cracks in the laser-cut perspex. The black edition may be better here as the cracks would be less obvious.
Now, to actually use your printer you will need a power-supply. This they only tell you AFTER you have bought the thing.
Neither do they mention that you can't just go to Dick Smiths or Jaycar and get a wall-adapter, as it requires the sort of power-supply that your laptop probably uses: 12v at 5 amps, (your standard plugin adpter does at most 1 amp) - after exhausting all the electronic and hardware stores in the south-east of melbourne, I ended up cannibalizing the ATX power-supply from an old desktop PC.
The setup and calibration process for the printer is a nightmare. The 'instruction manual' that comes with the printer is poorly written, and poorly xeroxed, there is a large reliance on the pictures, which cannot be made out clearly in the low quality black and white photo-copy. It would have been much more sensible to include a soft copy of the manual that could be clearly seen at least, but I cannot find a soft copy on the supplied CD or the internet. In addition to the pictures in the manual being just black smudges, the wording is terrible and little to no explanation is given for any step - so its hard to make out the pictures, the words dont make any sense, and there is no additional information that might help you decode the wording.
The calibration requires you to align the print nozzle 0.2mm away from the build plate at each corner. It took several read throughs to establish that that was the intention of the steps they give.
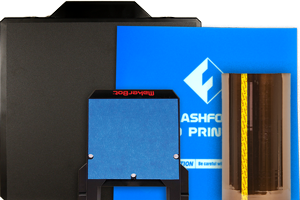
Any slight variation from this calibration means the model will slip and the print destroyed: 3d printing requires that the model adhere to the build plate perfectly - I would suggest going for a printer with a heated build plate - the kapton tape covered platform that comes with this one is going to be the cause of most print errors.
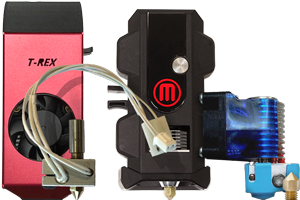
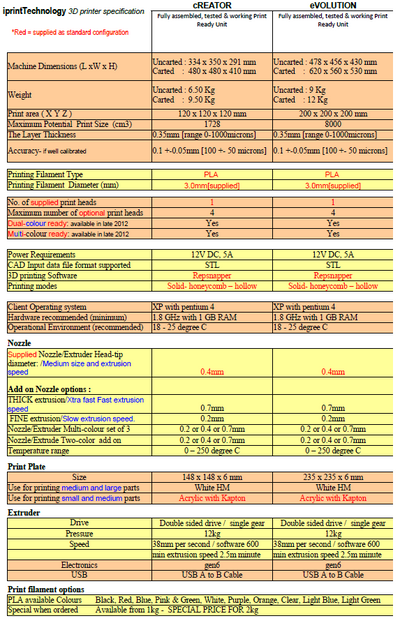
The 0.2mm calibration required by the instructions is for the 0.4mm nozzle that was supposed to come with it, however after numerous failed prints, a lot of swearing, and enough wasted time to blow my deadline, I discovered that they had supplied me with a 0.7mm (a much cheaper) nozzle, which requires the build plate be 0.4mm from the nozzle tip - ripped off, both in what I thought I was paying for, and in the waste of most of a roll of PLA, and days of wasted effort trying to get it to print with the wrong settings.
I am now facing the issue of trying to use the next roll of PLA. The silicone tubing that guides the PLA from the feeder into the nozzle, that was just slipped into the connectors is impossible to remove. The instructions just say 'remove the tube from the blue connector' - I am still trying to do that without breaking the printer; At the moment it is a very expensive waste of space in my workshop.
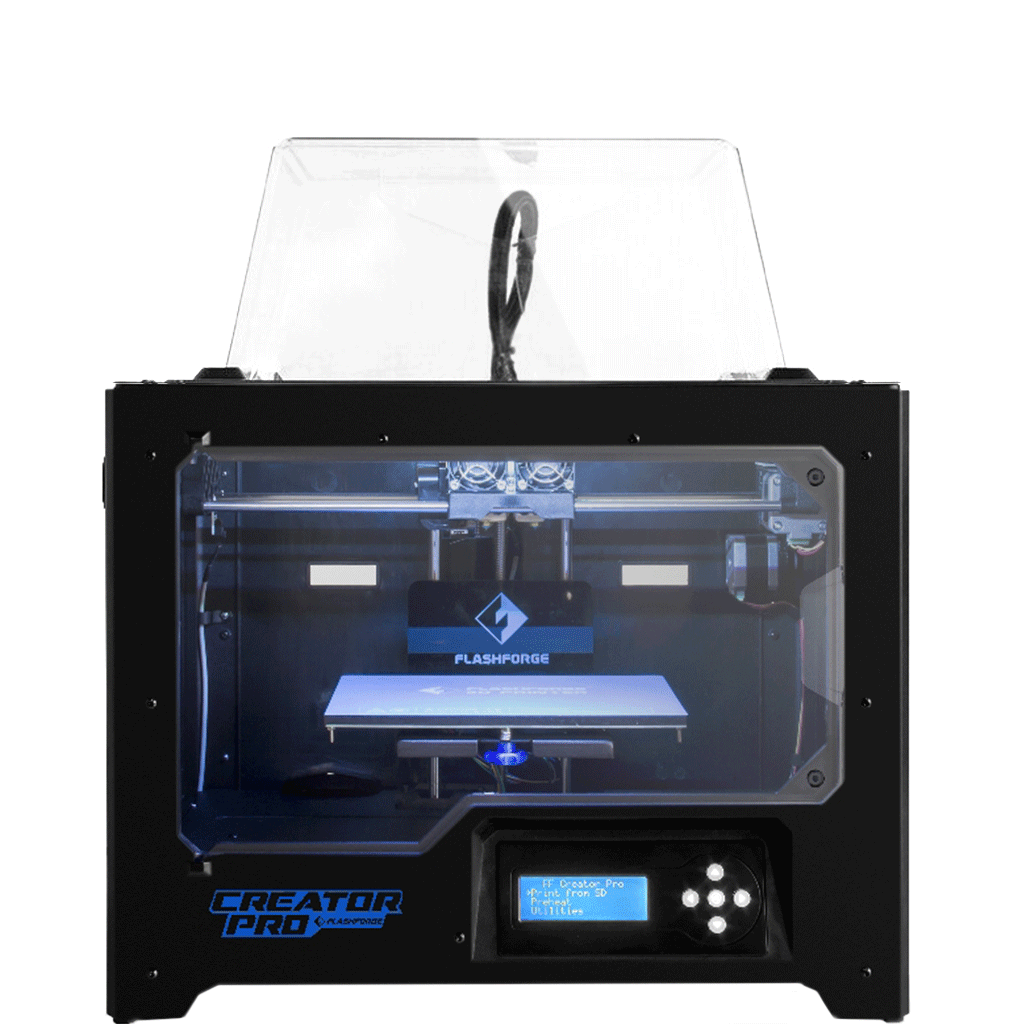
All in all, you should probably buy a makerbot.